
Advanced Clinical Photography in Aesthetic Dentistry – Practical Tips for Case Documentation
Professional clinical photography has become a fundamental pillar in modern aesthetic dentistry, with its role extending beyond mere documentation to become a vital tool for diagnosis, treatment planning, and communication with patients and laboratories. Accurate clinical photography requires specialized equipment, specific techniques, and a deep understanding of lighting and composition principles to ensure consistent and professional results.
Importance of Clinical Photography in Practice
Professional documentation revolutionizes how aesthetic cases are diagnosed, planned, and executed. High-resolution images reveal subtle conditions that might be missed during routine examinations, enabling early intervention and better long-term outcomes. UK practices implementing structured dental photography protocols report 28% faster treatment completion times and 35% improvement in patient satisfaction scores.
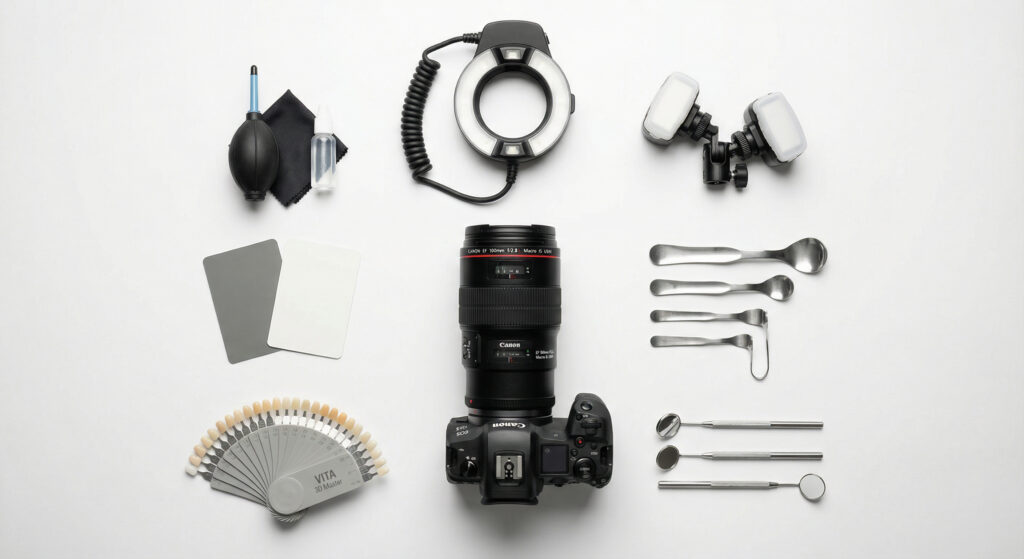
Essential Equipment Required
Camera and Lenses:
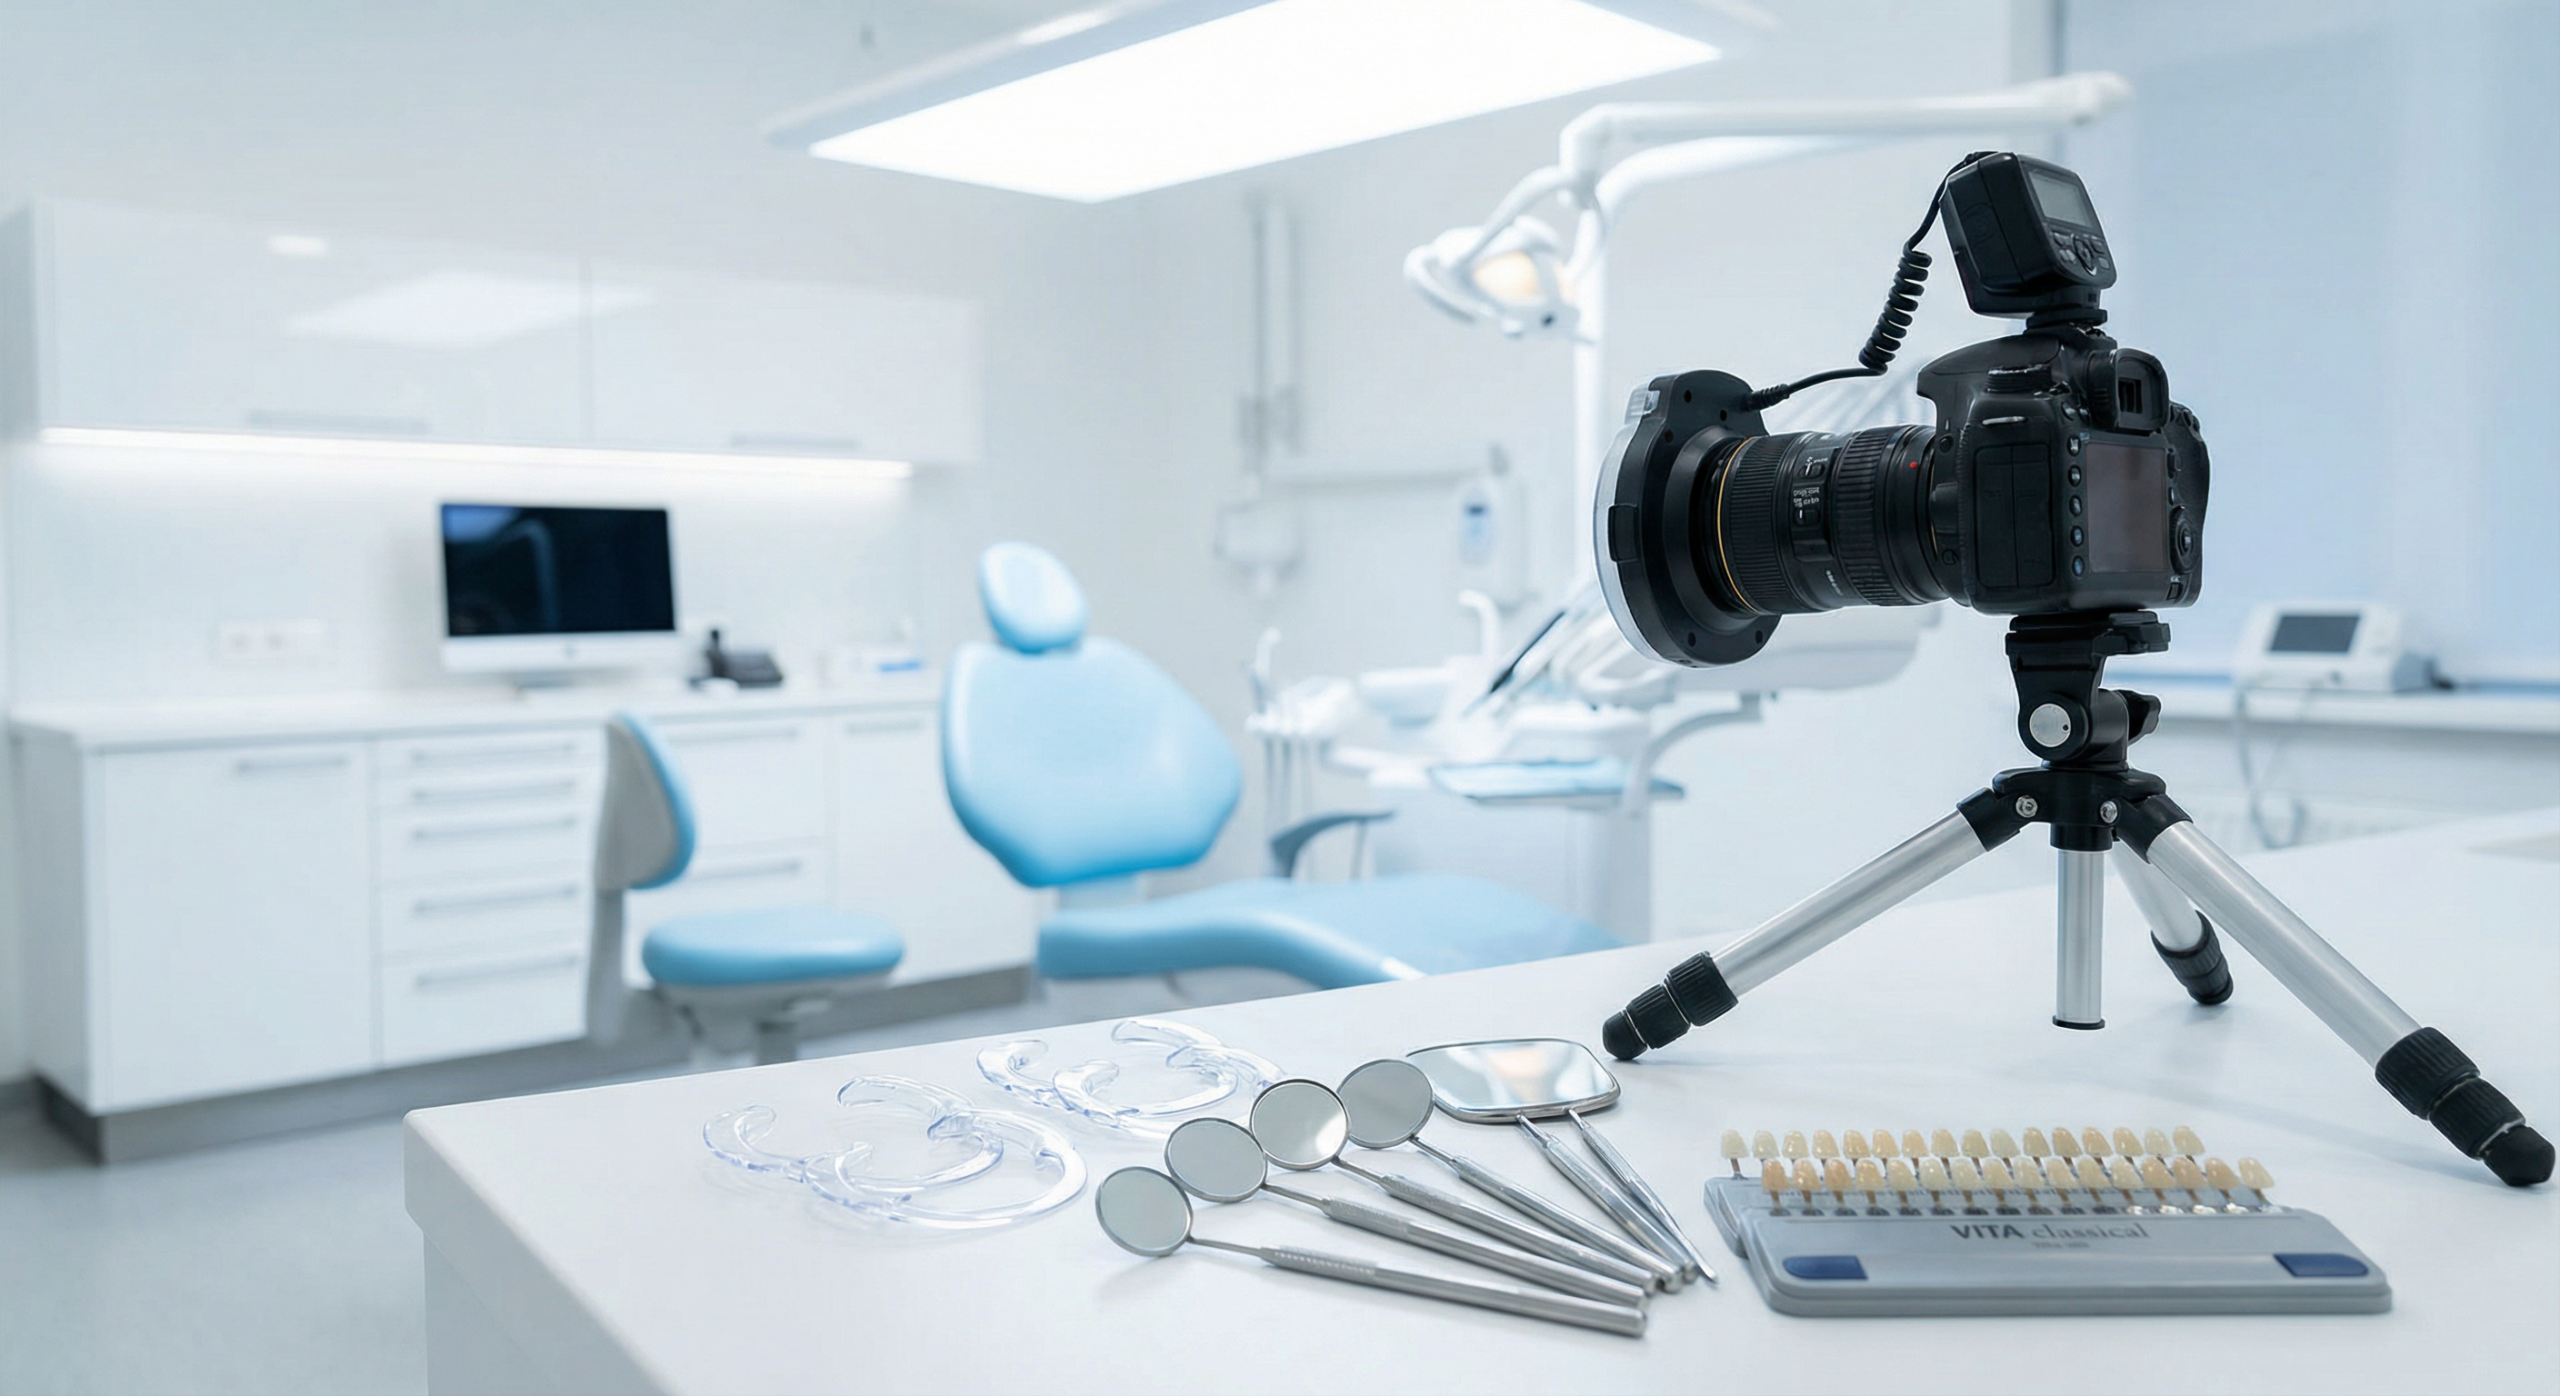
- Professional DSLR or Mirrorless camera
- Dedicated macro lens (100mm or 105mm with 1:1 ratio)
- Ring flash or Twin Flash specialized for intraoral photography
Supporting Tools:
- Cheek retractors for intraoral photography
- Front-surface mirrors for occlusal surfaces
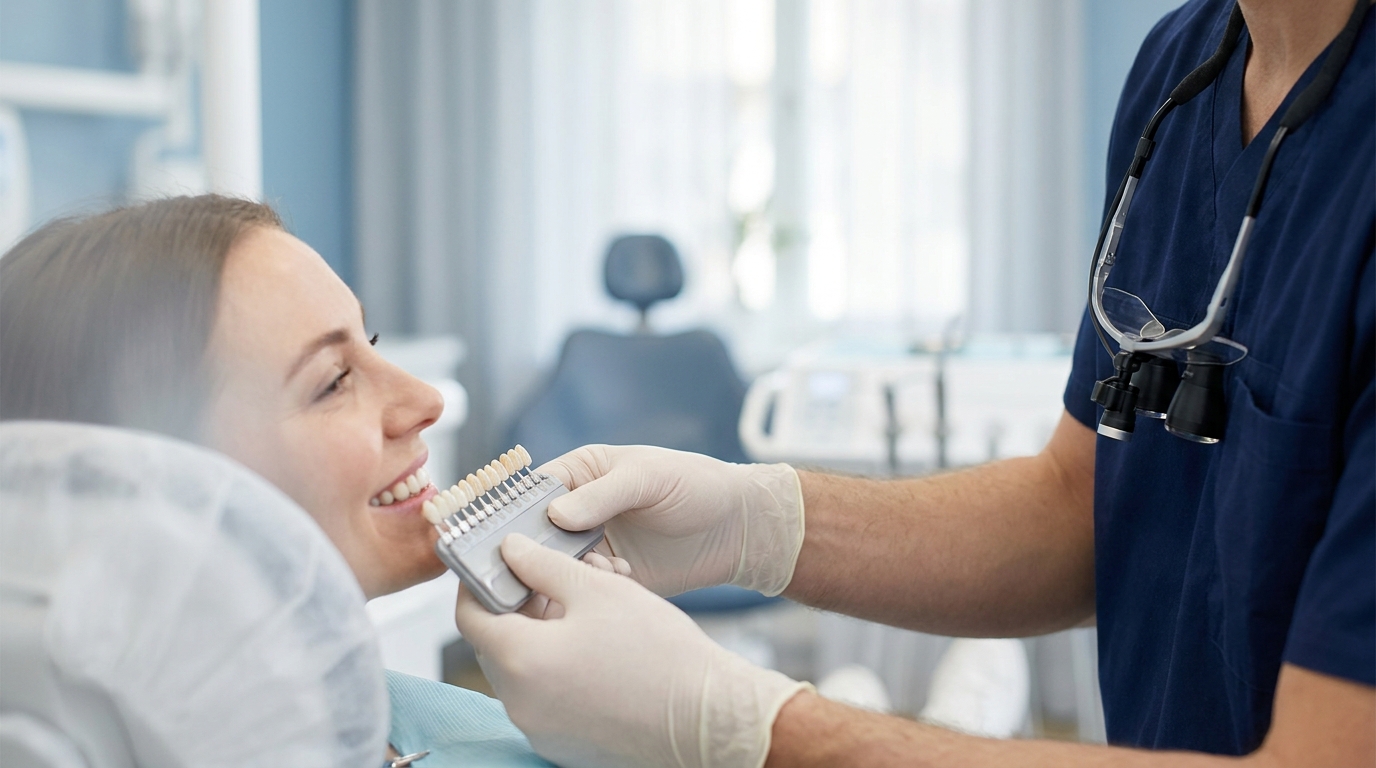
- Shade guides (VITA Classical or 3D Master)
Standard Photography Protocol
Extraoral Photos:
- Full face (medium shot) – Include eyes for natural reference
- Full face (close-up)
- Smile only – Capture lips, teeth, and gingival margins
- Profile view
Intraoral Photos:
- Retracted frontal view (closed occlusion)
- Retracted frontal view (bite slightly open)
- Right and left lateral views
- Upper and lower teeth using occlusal mirrors
- Close-ups for shade with shade guide in the same plane
Lighting and Composition Tips
Soft, diffused lighting flatters facial features whilst maintaining clinical accuracy. Avoid harsh shadows that distort facial proportions or hide important aesthetic details. For intraoral photography, use ring flash with equal power to ensure uniform lighting without reflections. Using polarising filters removes reflections and reveals true dentine and enamel characteristics.
Laboratory Communication
Accurate clinical photography significantly enhances collaboration between dentists and dental labs. It allows for precise communication of the patient’s condition and desired outcomes, ensuring lab work is tailored to meet each patient’s specific needs. Including a polarised photo with intraoral scan data helps technicians refine shade and texture matching.
Advanced Applications: Digital Smile Design (DSD)
DSD protocols rely heavily on standardised photography to create predictable aesthetic outcomes. These advanced techniques require specific camera angles, lighting setups, and post-processing workflows that transform routine documentation into powerful treatment planning tools.
AI Integration and 3D Photography:
Artificial intelligence integration represents the next frontier in dental photography, enabling automatic image analysis and standardised positioning guidance. 3D photography systems are becoming increasingly accessible, offering comprehensive facial and intraoral documentation supporting advanced treatment planning workflows.
Tips for Consistent and Professional Results
- Use the same camera and lighting setup for all cases
- Keep patient positioning, camera angle, and distance uniform
- Always set manual focus for consistent comparison
- Rotate and flip mirror photos to ensure accurate presentation
- Use high-quality images as communication aids to enhance patient understanding and treatment acceptance
Join BAIRD Academy and Master Clinical Photography
Professional clinical photography is an integral part of the comprehensive training we offer at BAIRD Academy. Through our accredited programs, you’ll learn not only advanced photography techniques but also complete clinical skills in dental implantology and aesthetic restorative dentistry.
Browse All Training Courses: baird.uk.com/courses